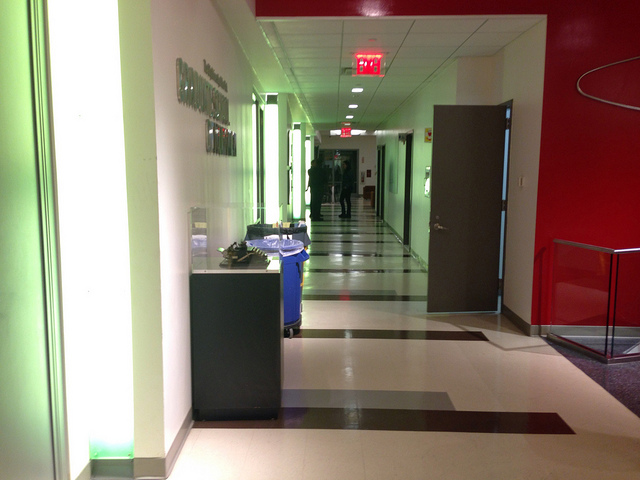
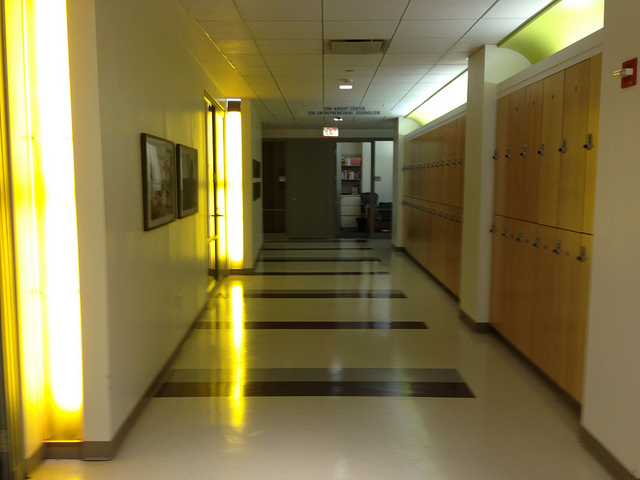
Every January the CUNY Graduate School of Journalism holds a series of one-off seminars for students and alumni who want to learn a little bit about topics they may have overlooked in their studies. The school generously allows prospective students who have applied to sit in too. Earlier this week I took the first of three I signed up for, "Smart Photos with Smartphones."
So yeah, I spent three hours this week learning how to take pictures with my phone.
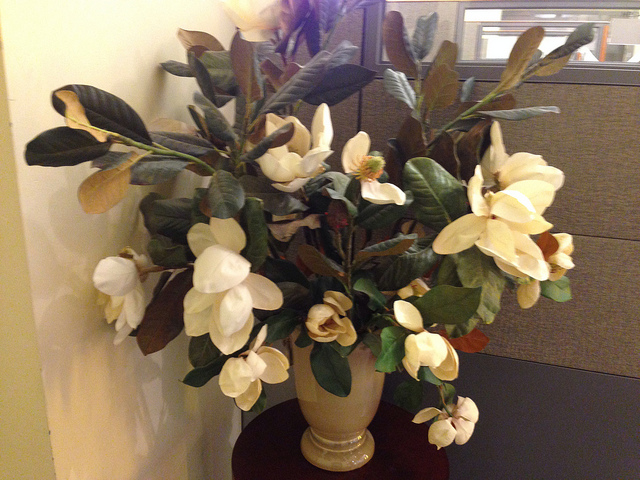
Like this one.
Despite how it sounds, the class what was actually very helpful. I have absolutely no training as a photographer. Sure, I know the terms – Exposure, Aperture, Shutter Speed, etc, etc – but that doesn't mean I know what to do with them. Even with the limited capabilities allowed by a smartphone, I would not describe my pictures as "professional," even when shooting for work.
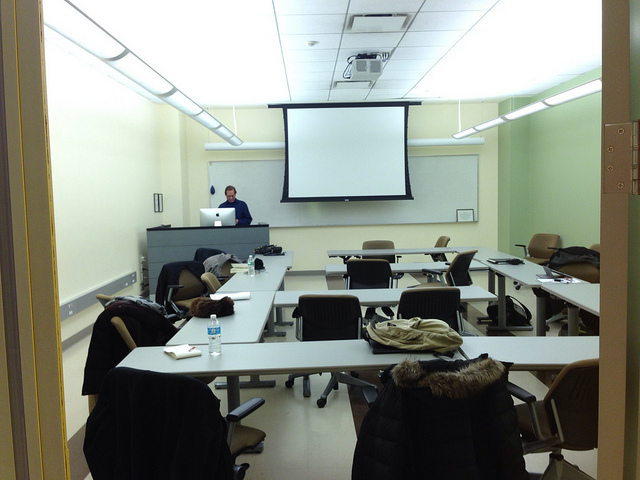
There were only ten people in a classroom meant to hold double that, so I guess it wasn't the most popular choice. It was an interesting mix of people, though: About half of us were prospective students, there were two current J-School students, plus a couple of alumni - one was in her twenties, the other was probably in her late 40s - and a journalism professor from Brooklyn College.
Meanwhile, our professor, Scott Mlyn, is a pretty well credentialed guy: He was a photo editor for BusinessWeek and AP (That's the Associated Press, folks) before picking up the academic gig.
I bring it up because, while the class title may have said it was for "smartphones" in general, the lesson plan was clearly designed specifically around using an iPhone. It wasn't really a problem: Only two people had Android phones, and Mlyn had a some stock Android slides and a theoretical understanding of how the software works.
(Side Note: We didn't discuss hardware much, but teach preferred the iPhone for a reason. From the phones I've tested and reviews I've read, there is not a current Android phone with a comparable camera. If you need a non-iPhone and the camera your number one priority, Microsoft's Lumia series is your best choice.)
Based on the class, learning to take good pictures on your phone isn't about learning photography techniques as much as it is about figuring out to trick the phone's automatic features into taking the picture correctly. There were a bunch of little things you should (or shouldn't) do to make sure your photos look good, but there was really just one tool we learned about that really feels like it allows you to actively take better pictures:
It's called the Auto Exposure/Auto Focus Lock. You use it to pre-determine how bright your picture is going to be.
To use this feature well, it helps to know what about photo's Exposure, so here's my extremely feeble overview: Exposure, which refers to amount of light the camera is going to take in when it takes the picture. Professionals use an incident meter to register it manually, but smartphones - and digital cameras set to "auto" - do it by scanning how much light bounces off whatever its looking at. Because it's an approximation, sometimes cameras get it wrong: Pictures of white walls tend to come out dark no matter how well lit the room is, and pictures of darks walls always come out too light.
Ok, now this is how it works:
When you open the camera on your iPhone, you'll notice that yellow square in the middle: That's the focus tool. If you've fiddled with it you may have figured out that if you click on a part of the screen, the photo will be clearest in that area when you take your picture. What you may not know - or at least I didn't - is that the focus tool is also changes the photo's exposure. If you press and hold that spot you want for a few seconds, eventually the square will "blink" twice. When you let go, there will be a small yellow square that says "AE/AF Lock." It looks like this:
Once locked, the light and focal point of your photo will stay the same, no matter how weird the lighting gets. For example, If I take a picture of you wearing a baseball cap on a sunny day, chances are the photo will be too bright, because your shaded face will be darker than everything else in the picture. So before I take that picture of you and your stupid-ass hat, I'm going to find an evenly lit area, lock the focus, then take the picture with your face in the spot where I aimed the square. (It might help to frame the photo first, find where you want the focus to be and aim accordingly when you pick your lighting.)
There are more advanced camera apps for both iOS (Camera+) and Android (Camera Awesome) that allow you to lock the Exposure and Focus separately, but they cost a few bucks. Maybe you should just stick to this for now...
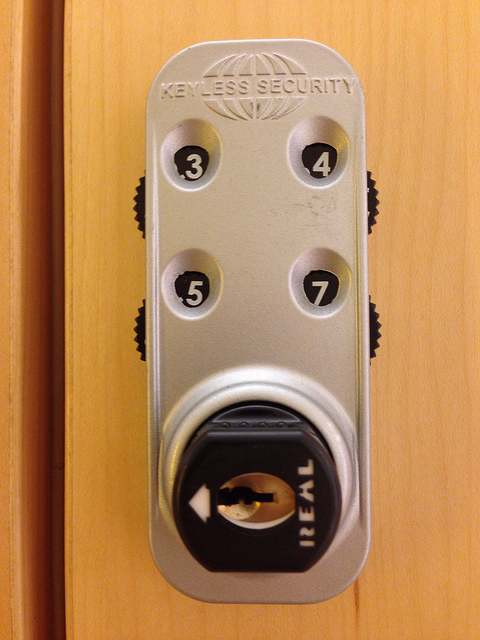
For the last 30 minutes of class, the professor critiqued our photos. That one of the lock up there? Yeah, he really liked that one. But this one?
Not so much.
That said, even the ones he didn't praise as much - He didn't actively dislike anything - looked much better than any photos I've ever taken with a phone. They look like winners to me... Well, most of them do.
Considering it's been a few years since I sat through any kind of formal class, I was pleasantly surprised to find it way more engaging than I remember. If this is what J-School is going to be like, I think it's going to be much better than my past educational experiences. Then again, maybe I just like phones that much.


